How To Transfer Files From Phone To Computer: 4 Free Methods

In this article we will cover how to transfer files from phone to computer. We’ll go over 4 methods which are:
- Transferring files using a USB cable
- Transferring files with an SD card
- Transferring files wirelessly
- Transferring files using a cloud-based solution
Introduction
We use phones for almost everything nowadays.
Taking photos, videos, storing important documents, social media, playing music, you name it. Some of us even use it to call another person.
Because of this reliance on phones as a gadget with many uses you’ll end up storing many files on your mobile phone.
But what do you do when you have to send files from your phone to your computer? No matter how much storage your phone has, you will eventually need to transfer files to your computer.
Let’s have a look at four transfer methods to send files from phone to PC or Mac.

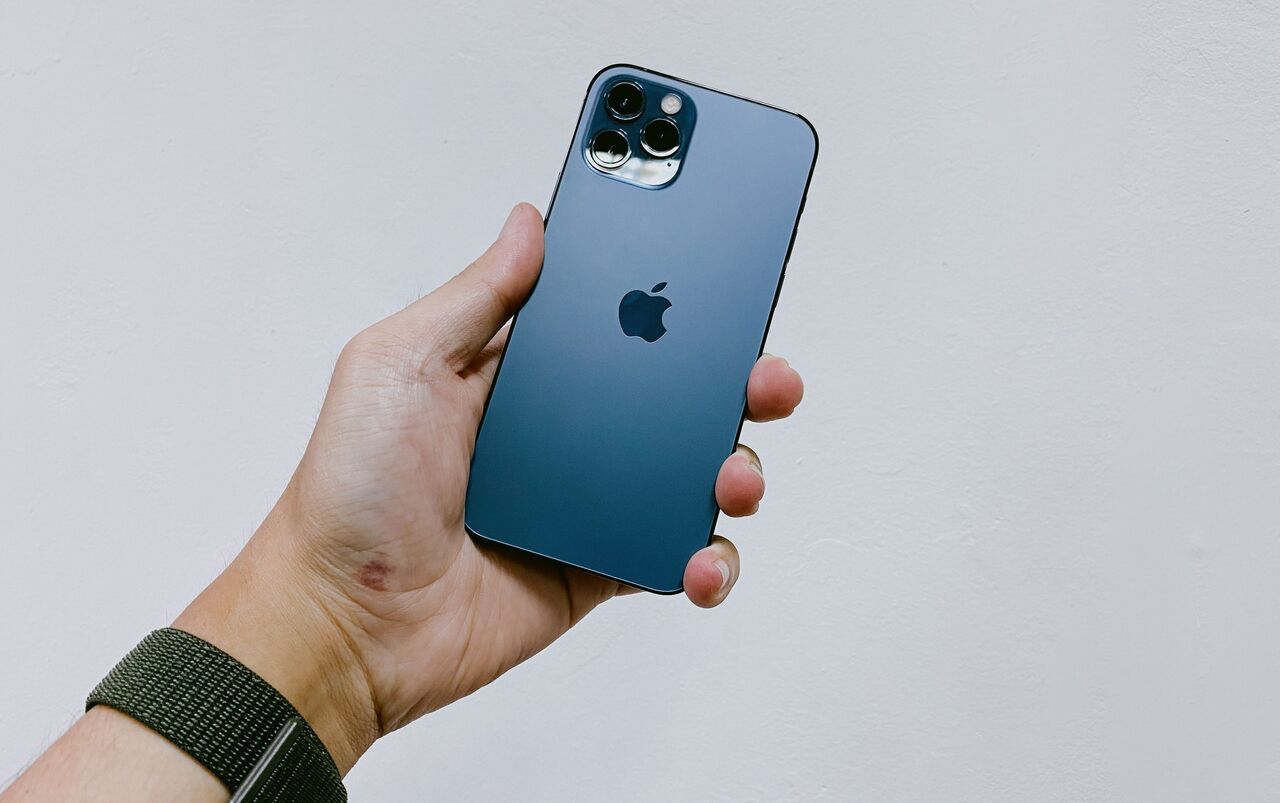
1. How To Transfer Files From Phone To Computer Using A USB Cable?
USB cable transfer is by far the preferred method for many folks. And why wouldn’t it be?
All it takes is to connect your phone to your computer. A few more steps to set up and voilà!
Now you can both send and receive files through either of your devices.
1.1 Sending Files From Phone To Windows PC
How to transfer files from Android to PC using a USB cable?
Let’s see how you can transfer files from your Android mobile or iPhone to a computer running on Windows.
1. Plug your phone into your computer via a USB cable.
2. You will see a message about the USB connection in the notification bar. Ensure you set it to ‘transfer files’ mode.
3. Now double-click My Computer and you will see your phone appear, under Devices and Drivers.
4. You can now move files from your mobile to a folder on your PC.
How to transfer files from iPhone to PC using a USB cable?
For iPhones, you will have to put in a bit more effort.
1. First, make sure you have the latest version of iTunes installed on your Windows computer.
2. Link your iPhone to your PC using a lightning to USB cable.
3. Open the iTunes app on your Windows device. Make your way to the top-left corner of the screen where you will see the ‘Device’ tab. Click it and then click ‘next’ on File Sharing.
4. Select your target apps. iTunes will let you choose which files from these apps you can send to your computer.
5. After selecting your files, hit ‘Save To’, to begin transferring your data to your PC.

1.2 Transferring Files From Smartphone To Mac
How to transfer files from an Android phone to Mac using a USB cable?
This is definitely not as straightforward as shifting documents between Android and Windows devices. But still, nothing too complicated.
1. Install the Android File Transfer app on your Mac. The application should run and install itself.
2. Now just plug your phone into your Apple device using a USB cable.
3. Browse the contents of your phone, and select the desired files to transfer them to a folder on your Mac.
How to transfer files from iPhone to Mac using a USB cable?
Follow these steps to send files from iPhone to Mac:
1. Connect both your Apple devices using a Lightning to USB cable.
2. The iTunes app will open by default. If not, then you have to start the app yourself.
3. In the top-left corner, click on the iPhone icon. This will open a new window.
4. Here at the bottom, you will find information on your device’s storage. You will see sections for audio files, photos and videos, apps, documents, and other items.
5. Click on the relevant section to start sending files from your iPhone to Mac.
1.3 Pros & Cons Of Using USB Cable To Transfer Files
Pros | Cons |
| It is quick, and easy. | You will need to be physically near your computer, or at most as far as your USB cable allows. |
| With USB file transferring, you don’t need an internet connection. | |
| USB cables are relatively inexpensive. |

2. How To Transfer Files From Smartphone To Your Computer With An SD Card?
They may be small, but SD cards sure are mighty. They carry anywhere from 64 MB to 1 TB of data on a single chip.
Just like USB cables, SD cards are a widely used means of transferring data. All you need to make this method work for you is an SD card slot on your computer device.
2.1 How To Transfer Files From Android Phone To Windows PC Or Mac Using An SD Card?
If your Android phone stores all your files on your micro-SD card then transferring files will be easy.
Follow these steps:
1. If you have files saved on your phone, you need to insert an SD card. Then, transfer the files you want to the SD card.
2. Remove the micro-SD card from your phone and place it in a card reader.
3. Insert the card reader into the memory card slot of your computer device.
4. Now you can just copy-paste files from your card to your PC or Mac. Yes, it is that simple.
2.2 How To Transfer Files From iPhone To Windows And Mac Computers Using An SD Card?
iPhones don’t have an SD card slot. So, transferring files from your iPhone to your computer won’t be as quick. To start the process, you will also need an extra tool in the form of a Lightning to SD card adapter.
1. After connecting the Lighting port to your iPhone, insert the memory card into the card reader.
2. Go to the file you want to transfer. For instance, a photo you want to send to your computer.
3. Select the item and press the option to Share.
4. Next, tap on Save to Files. This is when your phone will show you the available options. Select your SD card, which typically appears as as No Name.
5. From there, select the folder where you wish to store your file.
6. To complete the transfer, eject your SD card after saving your files on it. Insert it into your desktop or laptop device. You will now be able to drag and drop files from the card to your device.
2.3 Pros & Cons Of Using SD Cards For File Transfer
Pros | Cons |
| For Android devices that come with micro-SD card slots, this method is a huge time saver. | Probably not the ideal method for iPhone users because you will have to buy a Lightning to SD card adapter. |
| Implementation is easy, and you can transfer large files within minutes. | The process is slow and involves many steps. |
3. How To Send Files Wirelessly From Phone To Computer?
If you feel that using wired connections to send and receive files is outdated, then why not try wireless transfer?
You can avoid the hassle of using cables or SD cards by transferring files from phone to PC using Bluetooth or Wi-Fi.

3.1 How To Send Files From Phone To PC Using Bluetooth?
Sending Files From Android Phone To Windows Computer Using Bluetooth
1. Go to your phone settings, and tap on Bluetooth. Turn it on and make sure that it is discoverable for nearby devices.
2. On your Windows computer, go to the start menu. Click on the wheel on the left side, to enter Settings. Type Bluetooth in the search bar and click the option when it appears in the drop-down menu.
3. On the right side of the window, you will see an option to send or receive files via Bluetooth. Click it to open the file transfer wizard.
4. Select Receive Files before selecting your mobile device from the available devices list. Then, select Next.
5. Now, unlock your phone and long-press to choose any files you want to transfer. From the settings, press share and then select Bluetooth.
6. Select your PC from the list of “available devices” on your phone.
7. On your computer, choose your preferred folder to save the received file, then click Finish to complete the process.
Sending Files From Android Phone To Mac Using Bluetooth
1. Turn on Bluetooth on your Android phone and set it to discoverable.
2. On your Mac, go to Bluetooth in Preferences through Settings and turn it on.
3. Tap Pair on your mobile phone when you see your Mac appear in available devices nearby.
4. Return to your Mac. In the Preferences window, click on Sharing and check the box next to Bluetooth Sharing. Select your preferred folder for received files, and you’re ready to start sharing.
When you send your documents through Android, a notification will pop up on your Mac. Your files will go straight into the specified folder when you hit accept.

3.2 How To Transfer Files From iPhone To Mac Using Apple Airdrop?
While your iPhone can’t send files using Bluetooth, it has something else in its arsenal.
Airdrop is a special exclusive feature made for Apple devices to share files between them eassy. Moreover, it works both on Bluetooth and Wi-Fi.
Follow these steps to file share with Airdrop:
1. In the Control center on the iPhone, press the Airdrop icon to turn it on.
2. Head into your app from where you have to share files. For instance, to share photos, select all the images you want to send to your Mac.
3. Now tap the Share button that appears first in line at the bottom of the phone screen. Select your Mac from the devices that show up. And that is it.
It really is that easy!

3.3 How To Transfer Files From Smartphone to PC Using Wi-Fi Without Internet?
Receiving Files from Android Phone or iPhone to Window PC Using Wi-Fi Router
Got a Wi-Fi router?
Great! Now you can start sending and receiving files between devices.
But before you do, you will need to install any third-party FTP app on your Android or iOS phone to make things work.
And since Windows doesn’t support airdrop, you can’t use Bluetooth to send files from your iPhone to a Windows computer. That is why you can use this same method for sharing files from your iPhone to PC with a wireless connection. For this:
1. Go to the Internet Settings on your phone.
2. Locate the Wi-Fi hotspot feature in Hotspot & tethering settings and turn it on.
3. Open the FTP app that will show you a URL.
4. On your computer, go to My Computer.
5. In the address bar at the top, type in the URL from your phone app. Your Android storage will be now visible on your computer.
Transferring Files from Your Android Phone to Mac using Wi-Fi Router
You can actually use the same FTP storage sharing method on your Mac. But you will need to install an FTP-supported app on your computer as well.
Copy the URL from your Android device and paste it into your FTP app on your Mac. And you will start seeing your phone storage on your screen in no time.
3.4 Pros & Cons Of Using Wireless To Send Files
Pros | Cons |
| No need to bother with wires anymore. Connect to any device with just a few taps. | You can’t share files between iPhone and Windows PC with Bluetooth. |
| You can connect to multiple devices at the same time. | Wireless transfer is never as fast as a wired connection. |
| Airdrop makes file sharing incredibly easy and convenient. | You will need to install an FTP app on your phone. |
| Airdrop doesn’t work for Android and Windows enabled devices. | |
| Airdrop needs both Wi-Fi and Bluetooth enabled. | |
| Both sending and receiving devices need to be on the same Wi-Fi network so distance between them is limited. |

4. How To Share Files From Your Phone To PC Using Cloud-Based Providers
If you have access to the internet you can use one of the most efficient ways of transferring files.
We are talking about cloud-based file sharing.
Here's how it works:
1. Download the relevant cloud-based sharing and storage apps on both your devices (phone and PC). Some popular ones include Google Drive, iCloud, Microsoft OneDrive, and Dropbox.
2. Place any files you want to share in your cloud-based app folders. Set it to Auto-sync on your phone and computer.
3. Now you can share files from anywhere, anytime with anyone.
Super easy, right?
4.1 Pros & Cons Of Using Wireless To Share Files
Pros | Cons |
| Many devices already use cloud-based file storage and sharing methods. The Google Pixel phones are a popular example. | No internet? No cloud sharing. |
| Each file on the cloud server has a unique URL. You can share this with anyone, and they can access the link from anywhere across the globe. | Sadly, you can’t send or receive files without a reliable internet connection. Moreover, these services may also require you to buy extra storage space. |
| No limit exists to how much you can send via some cloud-based solutions. You may run out of space, but you can always buy more. | Unfortunately there are some cloud-based service providers who don't let you send very large files. |

5. Transfer Files From Your Phone to Your PC Easily with Filemail
Filemail is a cloud-based solution that lets you send files to anyone on any device.
With our website, or multi-platform apps, you can send and receive files on any platform- be it your PC, Mac, Android, or iPhone.
All you need to do, is attach your target files, type in the email address of the recipient, and hit send.
No more watching endless tutorial videos to figure out the upload process. You send the files and your intended recipients get the link in their email. There are no lengthy registrations and no need to share personal details. Filemail lets you transfer anything while ensuring the security and secrecy of your data.
So, download Filemail on your phone right now to send documents, music, photos, videos, and more to your Windows or Mac computers.
And here’s the catch: It is FREE! Ok, that’s not really a catch. The catch is our free service is not as comprehensive as our paid plans.